Blog
What Is Vinyl Cutter Software and How Does It Work?
Vinyl Cutter Software turns a design file into controlled blade movements. It reads vector paths, assigns cutting lines, and sends instructions to a vinyl cutter. The machine then follows those paths across adhesive vinyl, heat-transfer film, or stencil material. A small blade may trace a logo, lettering, or a window graphic within millimetre-level settings. The process looks simple. It is not always simple.
According to Grand View Research’s Digital Printing Market report (2024), the global digital printing market reached approximately USD 35 billion in 2023. This growth reflects stronger demand for short runs, personalisation, and faster production. FESPA’s Print Census 2023 also identifies workflow efficiency and automation as important industry priorities. Vinyl cutting fits this shift. It allows sign shops, apparel decorators, and small studios to move from screen to finished material without creating a physical printing plate.
Understanding Vinyl Cutter Software requires more than learning which button starts a cut. Users must consider vector quality, scale, blade pressure, cutting speed, weeding borders, and material stretch. Poorly prepared nodes can create jagged corners. Incorrect pressure may tear thin lettering. These details are often overlooked. They should not be.
This guide explains how the software communicates with cutting hardware, prepares artwork, and manages production settings. It also compares common workflow choices and practical limitations. No software profile is universally best. Results depend on the cutter, material, operator experience, and file preparation. That is an important point to remember. Industry reports provide useful direction, but real workshop testing remains essential.
What Is Vinyl Cutter Software?
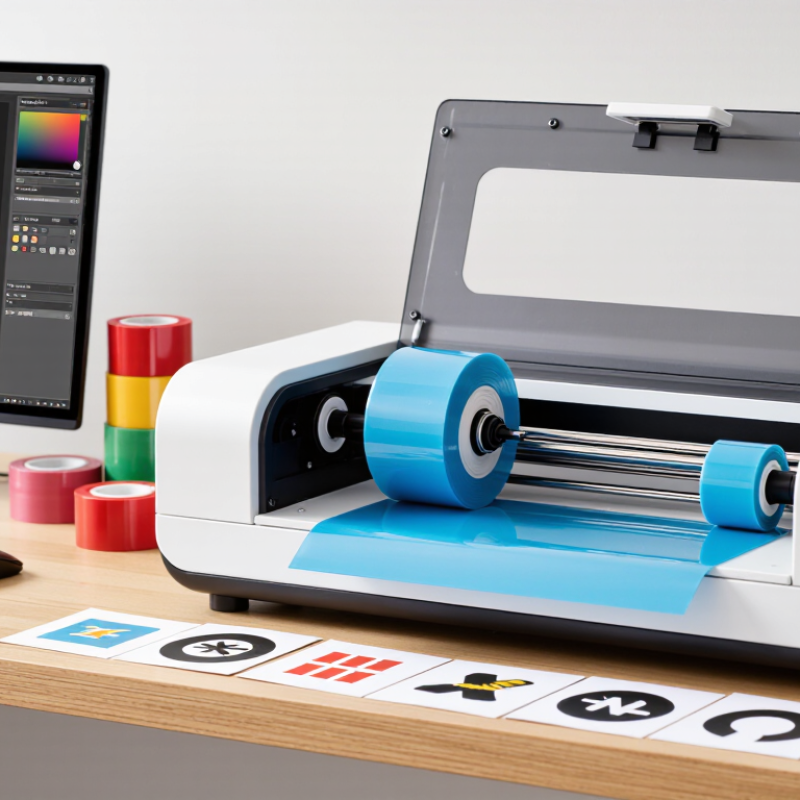
Vinyl cutter software is a digital tool that prepares designs for a cutting machine. It converts letters, shapes, and illustrations into precise paths. These paths tell the blade where to move, pause, and change direction. Unlike ordinary design software, it also controls cutting details such as speed, pressure, blade depth, and material settings.
A typical workflow begins with importing a vector file or creating artwork inside the program. The software removes unnecessary overlaps and assigns cut lines to specific objects. It may also mirror the design, add weeding lines, or divide a large graphic into sections. Before cutting, users can preview the layout and check its size. This step matters because a small scaling mistake can ruin an entire sheet of vinyl.
Keep the design simple.
In practical use, software settings require testing. A setting that works for thin adhesive vinyl may fail on thicker heat-transfer material. I often begin with a small test shape, then adjust pressure gradually. Some programs offer automatic presets, but they are not always accurate. Material age, blade condition, and surface texture can change the result. Beginners may expect one-click cutting, yet careful preparation usually produces cleaner corners and fewer wasted materials. A reliable operator also checks file paths closely, because tiny gaps can cause unwanted breaks in the final design.
How Vinyl Cutter Software Converts Designs into Cutting Paths
Vinyl cutter software turns a digital design into a sequence of precise cutting paths. It reads vector shapes, identifies their outlines, and converts them into coordinates for the cutting machine. Each path tells the blade where to move, pause, or change direction.
The process begins with anchor points and curves. Software may simplify complicated artwork by removing unnecessary points. It can also create an offset path, which adds a small border around letters or shapes. This helps prevent thin edges from disappearing during weeding. Before cutting, I inspect corners, overlaps, and very small details. The conversion is not always clean. A design that looks perfect on screen may produce fragile pieces or unwanted cuts. Blade depth, material thickness, speed, and cutting force also affect the final result. A reliable workflow includes a small test cut.
Tips
Use simple vector paths whenever possible. Zoom in and check every sharp corner. Convert text into outlines before sending the file. Review overlapping shapes, because hidden lines can create extra cuts. Keep a test piece nearby and record successful settings. I sometimes skip this step when a deadline feels tight, but that usually creates more waste. Good software supports control, yet careful inspection still matters.
Key Features Found in Vinyl Cutter Programs
Vinyl cutter software converts artwork into cutting instructions. It reads vector paths, assigns cut lines, and sends movement commands to the machine. Grand View Research estimated the global digital printing market at about $36 billion in 2023, showing why accurate workflow tools matter across small studios and production floors.
Key features include vector editing, node control, text shaping, layering, and automatic weed-line creation. Many programs also offer contour cutting, nesting, scaling, mirroring, and material presets. A useful preview displays blade direction and starting points before production. That detail can prevent wasted vinyl. In my workflow, calibration still matters more than attractive software menus. A 2024 Smithers industry forecast expects digital print demand to keep expanding through 2029, but software quality alone cannot fix poor blade pressure or uneven material. I have learned this the hard way.
Tips: Test a small corner first. Use a clean vector file. Set the material profile manually when needed. Keep lettering large enough for weeding. Do not trust every automatic setting. I still inspect tiny corners at high zoom, because a preview can look perfect while a narrow path cuts poorly. Shortcuts save time, but careful checking protects both material and finished detail.
The Step-by-Step Vinyl Cutting Workflow
Vinyl cutter software converts drawn shapes into precise cutting instructions. The workflow starts with a clean vector design, not a pixel-based image. I check every path for overlaps, open ends, and tiny details that may tear during cutting. A simple 100-millimeter square helps verify the final scale. Measure twice.
Next, I select the material profile and set blade depth, pressure, and cutting speed. These settings depend on vinyl thickness, backing strength, and design complexity. The blade should cut the vinyl layer without slicing deeply into the liner. A small test cut is essential. Test cuts matter. I inspect the result under bright light, then adjust one setting at a time. Changing everything together makes mistakes difficult to trace.
After sending the file, the cutter follows each vector path and removes excess material. I watch the first few centimeters for lifting, wrinkles, or unusual noise. When cutting ends, I weed the unwanted vinyl with a hook tool, working slowly around narrow letters and sharp corners. Transfer film holds the finished design in position while it moves to the target surface. Clean, dry surfaces improve adhesion. I sometimes rush the weeding stage, and that usually creates avoidable damage. A short pause can protect the entire piece.
What Is Vinyl Cutter Software and How Does It Work? - The Step-by-Step Vinyl Cutting Workflow
| Step | Workflow Stage | Main Purpose | Typical Input or Setting | What the Software Does | Machine Output | Quality Check |
|---|---|---|---|---|---|---|
| 1 | Create or Import Artwork | Prepare the design that will become the cut shape. | Vector artwork such as SVG, DXF, PDF, or AI; raster artwork may require tracing. | Loads the artwork and displays its lines, shapes, fills, and document size. | A visible design placed on the virtual cutting mat. | Confirm that the design is the intended size and that important elements are not missing. |
| 2 | Clean and Convert the Design | Turn artwork into clear, closed paths that a blade can follow. | Joined paths, outlined text, removed overlaps, and simplified nodes where necessary. | Converts editable artwork into cuttable paths and identifies open or duplicate lines. | A cleaner toolpath with fewer unnecessary movements. | Check for gaps, duplicate outlines, unwanted holes, and unjoined shapes. |
| 3 | Set Material Orientation | Ensure the design is positioned correctly for the selected vinyl. | Adhesive vinyl or heat-transfer vinyl; mirrored layout is commonly required for heat-transfer applications. | Reverses the design when selected and arranges it within the usable material area. | The design is oriented correctly for transfer or final application. | Verify whether the material requires mirroring before sending the job. |
| 4 | Set Size and Position | Match the design to the intended product or application area. | Width, height, rotation, margins, and placement on the virtual mat. | Scales the design proportionally and calculates its position relative to the material. | A correctly sized cut layout with adequate edge clearance. | Compare the displayed dimensions with the physical application area. |
| 5 | Choose Cut Settings | Match the toolpath to the vinyl and cutting machine. | Material profile, blade type, blade force or pressure, speed, and number of passes. | Translates material settings into machine commands for blade movement and force. | A machine-ready job with defined cutting parameters. | Use a small test cut because suitable settings vary by material, blade, and machine condition. |
| 6 | Load and Align Material | Place the vinyl securely so it feeds straight through the cutter. | Cutting mat or roll-fed material, correct loading direction, and pinch-roller alignment. | Communicates the job dimensions and, on supported machines, may perform an alignment or material-length check. | Vinyl is held flat and aligned with the intended feed path. | Check that the material is not curled, skewed, or positioned outside the cutting area. |
| 7 | Run a Test Cut | Confirm that the blade cuts the vinyl without damaging the liner. | Small square, triangle, or other test pattern using the selected force and speed. | Sends a limited test path before the full design is processed. | A small sample cut that can be checked by hand. | The vinyl layer should separate cleanly while the backing liner remains substantially intact. |
| 8 | Send the Full Cut Job | Produce the complete design from the prepared toolpath. | Approved design, material position, and confirmed cutting parameters. | Converts paths into movement commands and sends them through the machine connection. | The blade cuts the outline and internal details in the vinyl. | Monitor the first section for lifting, tearing, missed lines, or material drift. |
| 9 | Weed the Vinyl | Remove unwanted vinyl surrounding and inside the design. | Weeding tool and a completed cut on its original liner. | May show cut lines or provide a preview to help identify removable sections. | A cleaned design remaining on the liner or carrier sheet. | Inspect small letters, narrow gaps, corners, and enclosed areas for accidental removal. |
| 10 | Transfer and Apply | Move the finished design to the target surface. | Transfer tape for adhesive vinyl or a heat press and carrier sheet for heat-transfer vinyl. | Provides the final mirrored or non-mirrored layout reference and application dimensions. | The design is positioned and adhered to the chosen surface. | Check surface cleanliness, alignment, adhesion, temperature, pressure, and dwell time as applicable. |
| 11 | Save and Reuse Job Data | Preserve the design and settings for future production. | Source artwork, cut file, material notes, dimensions, and successful machine settings. | Saves editable artwork, production files, and sometimes job presets or history. | A repeatable workflow for later cuts or size variations. | Record the material type, blade condition, pressure, speed, and any adjustments made. |
Vinyl cutter software primarily converts artwork into machine-readable paths, controls layout and cutting parameters, and sends the resulting toolpath to a compatible cutter. Actual settings depend on the vinyl construction, liner, blade, machine, and application method.
Choosing Software for Different Vinyl Cutting Projects
Vinyl cutter software turns digital artwork into cutting instructions. It reads vector paths and guides the blade along precise lines. The software can also adjust scale, spacing, blade depth, speed, and cutting pressure. This control matters.
For small labels, choose software with strong node editing and accurate corner control. Clean edges make tiny letters easier to weed. Large signs need reliable scaling, alignment tools, and panel cutting. These features help divide a wide design without visible gaps. Heat transfer projects benefit from mirroring, because the design faces the material during pressing. Layered graphics need color separation and registration marks. Otherwise, several pieces may shift during assembly.
For detailed work, inspect the preview at high magnification before cutting. A useful program should import common vector formats and preserve measurements. Compatibility is more important than a long feature list. I once trusted a preview without checking the material width. The design cut correctly, but part of it exceeded the vinyl. That mistake was avoidable. Test cuts remain essential, even with familiar materials. Cut a small square and triangle first. Record the successful settings for future projects. Still, old settings can mislead you when temperature, vinyl quality, or blade wear changes. Reliable software supports careful decisions, but it cannot replace checking the actual cut.
Article Source:
Exclusive Access
Unlimited Resources
Detailed information on our products to assist you with the planning of your cable management project
Register Now